
The journal
Why is my manual coffee grinder not grinding?
Practical fixes for a manual grinder that won’t turn, focused on cleaning and zero-point calibration. Clear, manufacturer-backed steps, a worked example, and when to check burr wear.
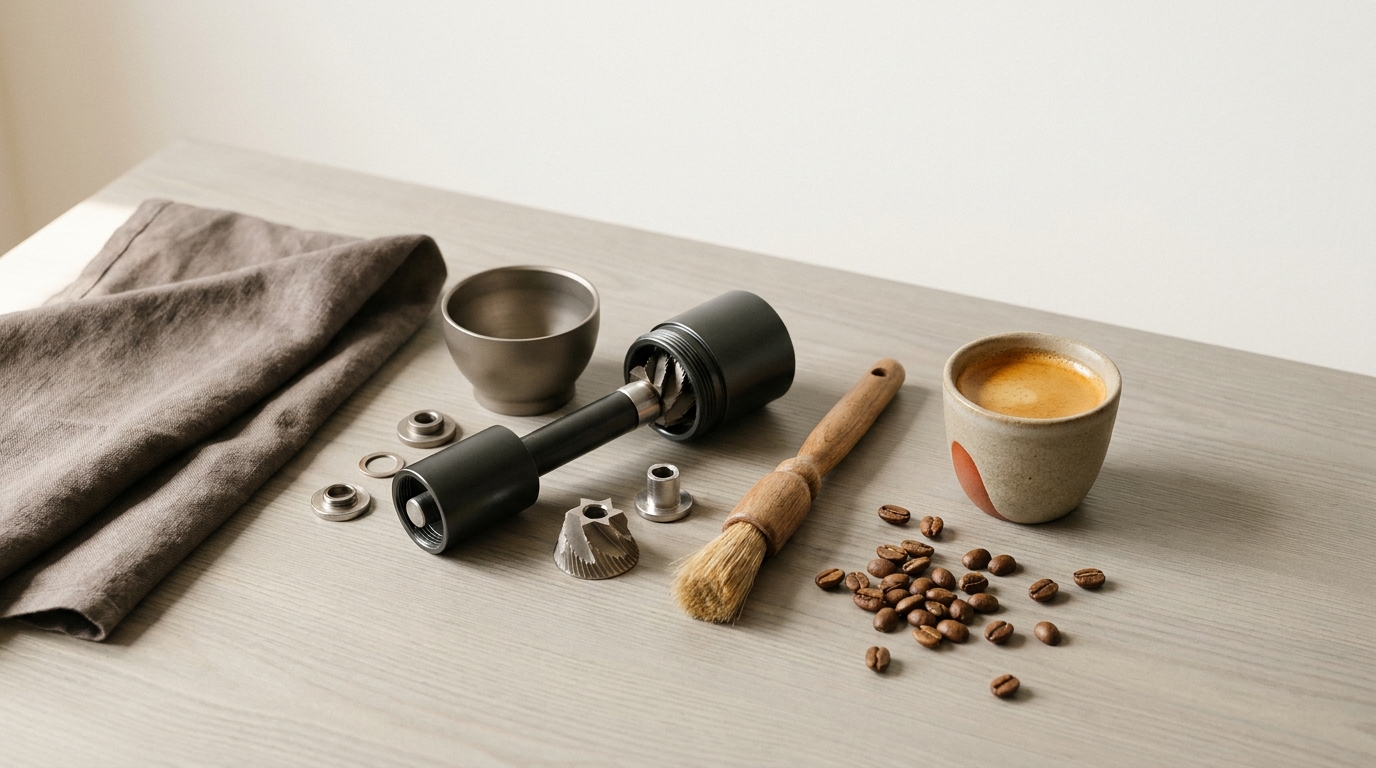
Short answer: check for a blocked feed path, an excessively fine setting, or incorrect reassembly before forcing a hand grinder. Cleaning or re-establishing the maker-defined reference can help, but damaged or missing parts require model-specific support. Avoid forcing the handle; back off the adjustment, test rotation with no beans, then resume grinding with a small test dose. Manufacturer guides below show exactly how to find and set zero without overtightening 1Zpresso calibration tutorial and how to clean and reassemble correctly Handground cleaning and calibration, JavaPresse cleaning guide.
What “zero” means and how to fix a stall
The zero point is the setting where the burrs first make contact. If you tighten beyond first contact, the burrs bind and the handle won’t turn. 1Zpresso’s calibration guide describes finding zero as the point where you feel resistance and warns to avoid overtightening to prevent getting stuck 1Zpresso calibration tutorial. The basic recovery process works across most manual grinders:
- Empty the grinder of beans.
- Loosen the adjustment away from fine until the handle spins freely.
- Slowly tighten toward fine until you feel the first, light burr touch (zero).
- Back off several clicks (or a small fraction of a turn) to open a usable gap.
- Test rotation again with no beans. It should spin freely with no scraping.
On models with specific collar or dial markings, follow the maker’s instructions to align the indicator at zero and then back off to your target grind. 1Zpresso details internal, top, and external adjustment designs and how to set each to zero 1Zpresso calibration tutorial.
Clear the common clog: a fast dry clean
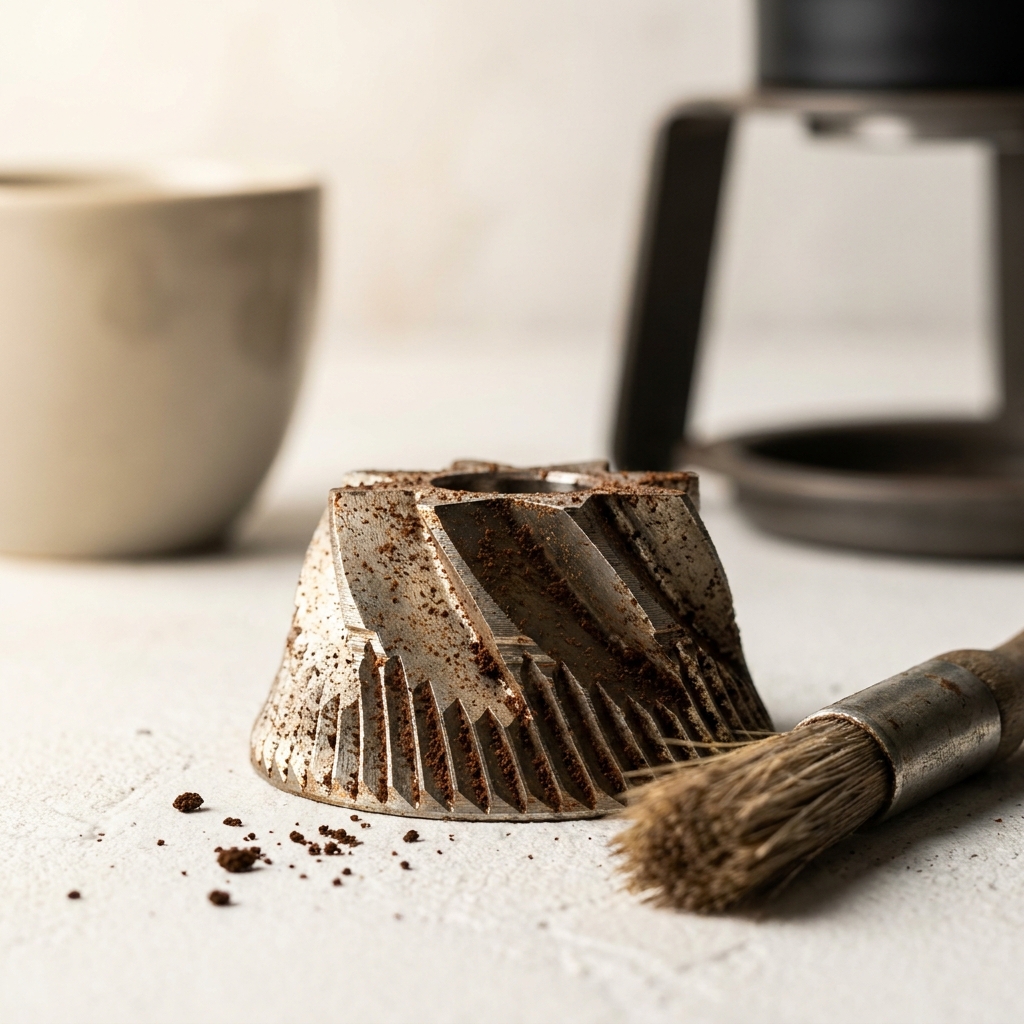
Old fines and coffee oil build up on burr faces and in the catch bin, making grinding harder and sometimes stopping bean feed entirely. JavaPresse notes that oils and microscopic particles deposit onto the burrs and can harm performance until cleaned JavaPresse cleaning guide. Handground likewise recommends monthly cleaning to remove oil and dust build-up Handground cleaning and calibration.
Do this quick, safe clean:
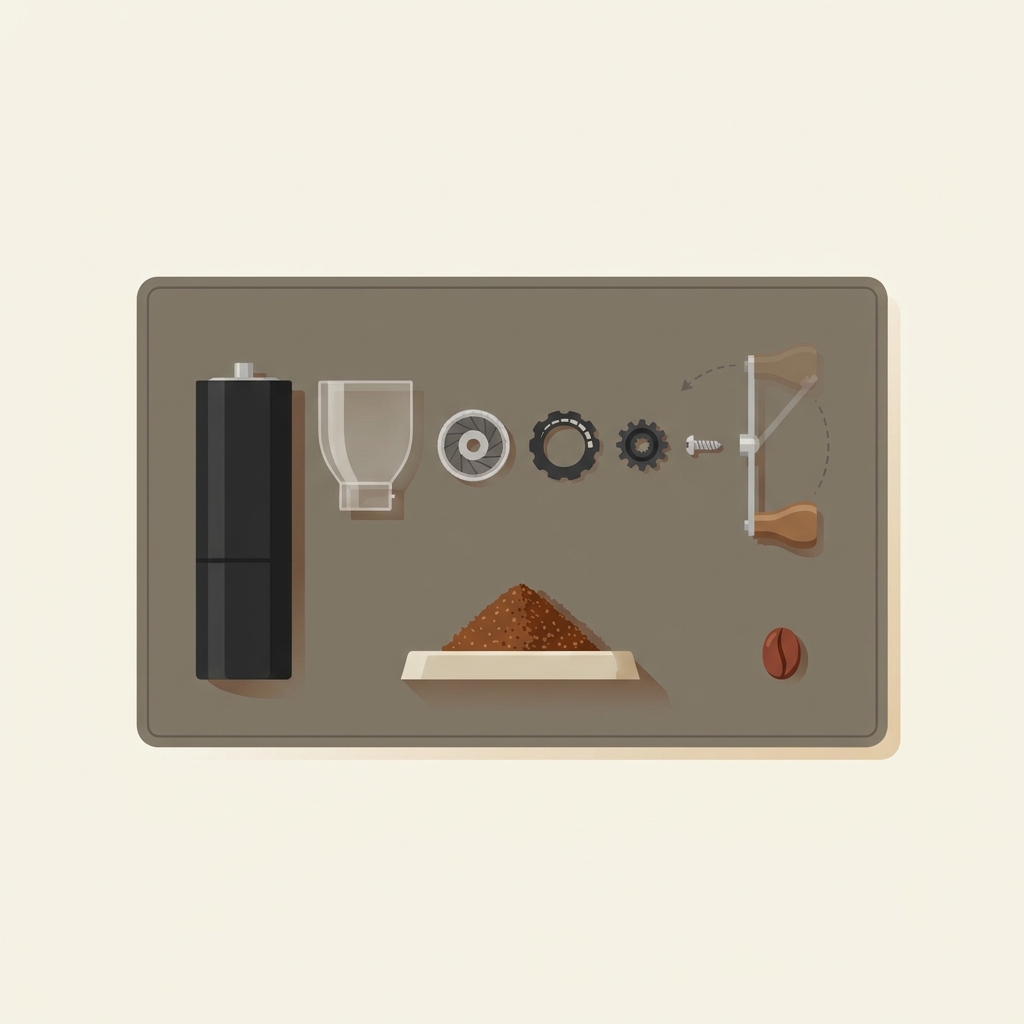
- Remove the handle, adjustment knob/collar, inner burr, and grounds container in the maker’s order.
- Brush both burrs and the feed path thoroughly. Tap out loose fines from the catch bin.
- Follow your model’s guidance on water: some parts can be hand-washed and dried fully (e.g., Handground’s hopper and glass), while gearboxes or certain caps should only be wiped, not washed Handground cleaning and calibration.
- Reassemble carefully, ensuring washers, springs, and the thumb nut are seated as shown in the manual.
A cautious reset and test
- Empty beans. Loosen the adjustment several clicks coarser until the handle spins easily.
- Slowly tighten until you first feel burr touch. That’s zero; do not crank past it 1Zpresso calibration tutorial.
- Move to the manufacturer’s recommended coarse test setting. Click sizes differ, so there is no universal number of clicks for drip or press.
- Spin the handle with no beans. You should not hear metal-on-metal scraping.
- If empty rotation is smooth and the manual permits, test a small amount of coffee before loading a full dose. Stop if the handle binds again.
If the handle still resists after backing off, disassemble, brush everything, reassemble with the burr seated squarely, then repeat the zero-point steps above JavaPresse cleaning guide, Handground cleaning and calibration.
If it still won’t grind: seating and burr-wear checks
After a clean, incorrect part order or a loose thumb nut can keep beans from feeding. Handground’s guide shows the inner-burr removal and reassembly order and cautions about inserts and gear caps; follow the same order in reverse and snug the nut so the burr is secure and centered Handground cleaning and calibration.
If you see chipped parts, a bent shaft, or damage, stop using the grinder and contact its maker. Do not infer that a burr needs replacement from coffee taste or age alone. For context, see how to assess possible burr wear.
Prevent it from happening again
- Brush after each use; do a deeper clean roughly monthly to remove oil build-up Handground cleaning and calibration, JavaPresse cleaning guide.
- Always make fine-to-coarse changes before loading beans if your grinder binds near espresso-fine; find zero, then back off to your target setting 1Zpresso calibration tutorial.
- Keep the catch bin and burr faces dry and clean to reduce fines packing.
Related: what’s safe to use for routine burr cleaning without damaging parts? Read our guide on what you can run through a burr grinder to clean it.
Get-it-turning checklist for manual grinder calibration
FAQs
What exactly is the zero point? It’s the first-contact point between the burrs. On many hand grinders, you find it by tightening until the handle first meets resistance, then backing off to open a gap. Do not overtighten past zero, which can lock the mechanism 1Zpresso calibration tutorial.
Can I wash burrs with water? Follow your maker’s guidance. Some parts can be hand-washed and fully dried, but caps or gearboxes should only be wiped, not submerged. Handground specifies which parts to wash and which to wipe only Handground cleaning and calibration. JavaPresse also outlines a safe, thorough clean with careful drying before reassembly JavaPresse cleaning guide.